Acusense cams require logging into the cam via a browser to configure siren / light strobe functions. Below us a step by step guide to show you how this is done.
Step 1
Open up SADP program (download here – https://www.hikvision.com/en/support/tools/desktop-tools/sadp-for-windows/ SADP will give you the IP address of the recorder . You should see the IP address next to the NVR model number.
Step 2
Open up an Internet browser and type in the IP address of the NVR. If you have Internet Explorer browser, this is ideal.
Step 3
Log in using username and password of the recorder.
Step 4
Go to Configuration > Network > Advanced Settings > Other.
Tick “Enable Virtual Host”
Note – if you’ve done this step before, this would already be checked.
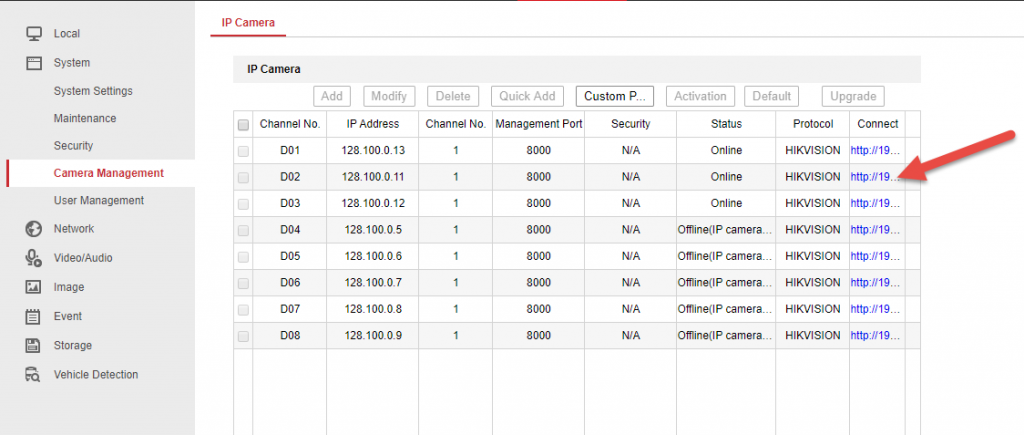
Step 5
Go to Configuration > System > Camera Management > Click on the blue link next to the camera you wish to log into, as per image below.
Step 6
Log into the camera. (same username / password as the NVR if the NVR activated the camera)
There you have it – you’re now logged into the camera and ready to perform actions on the camera.
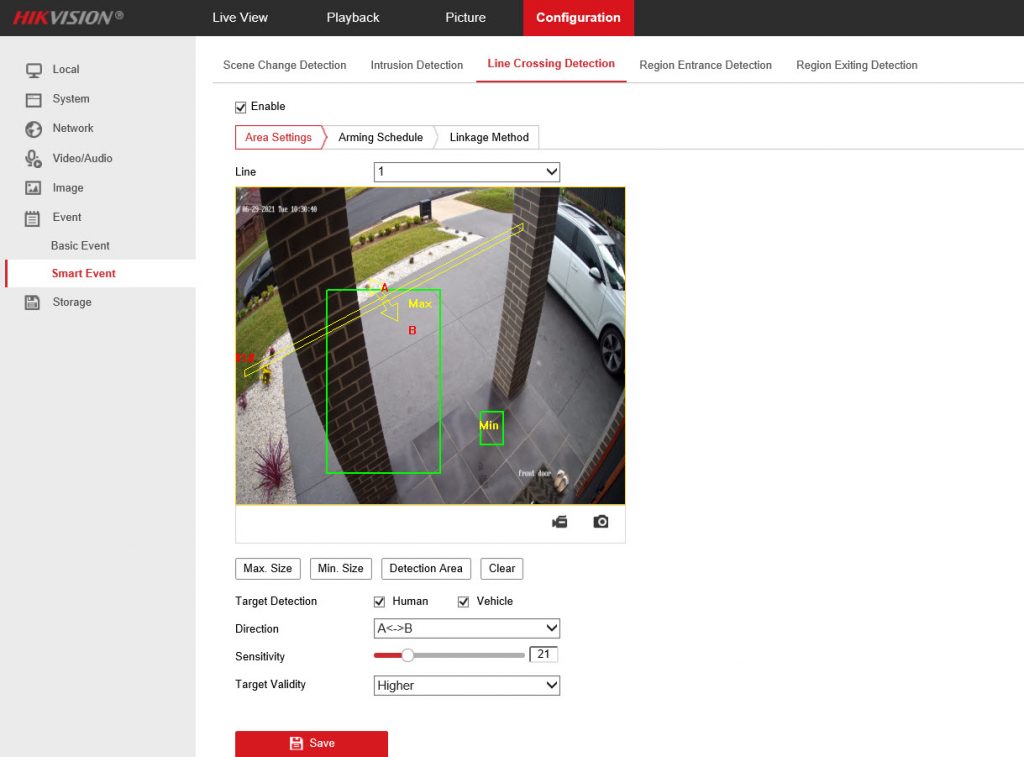
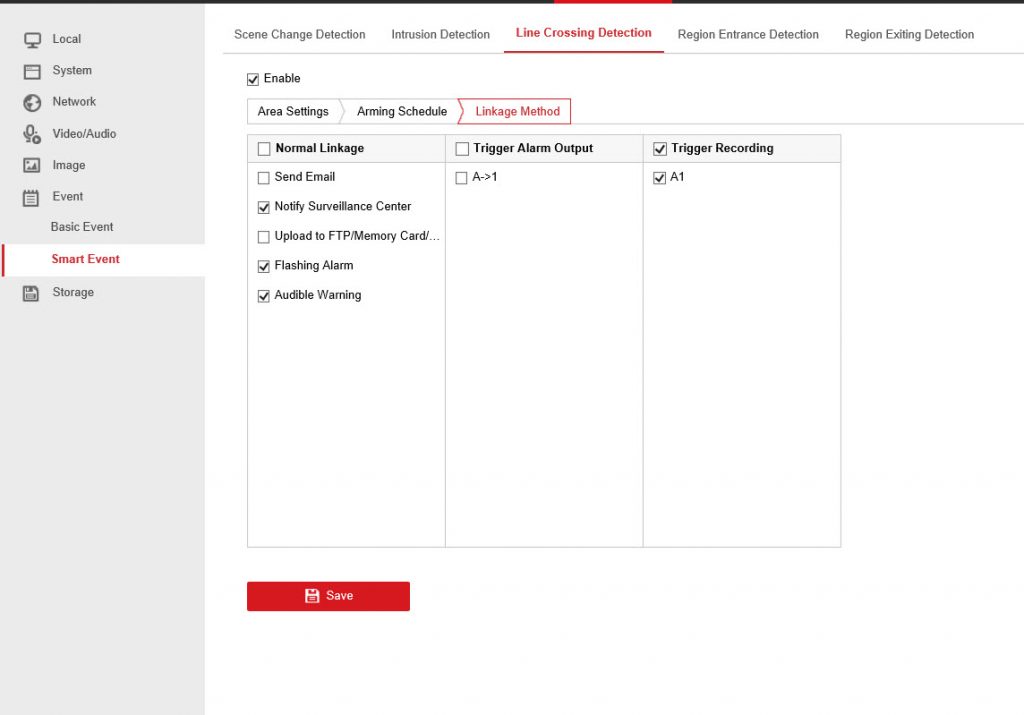
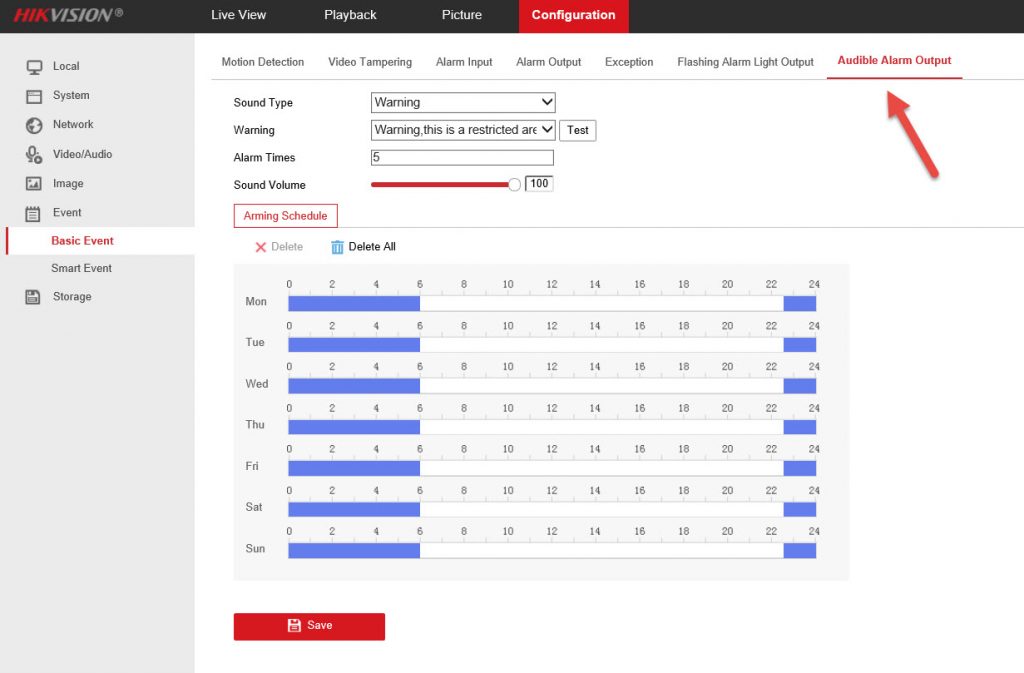
Go to Configuration > Event
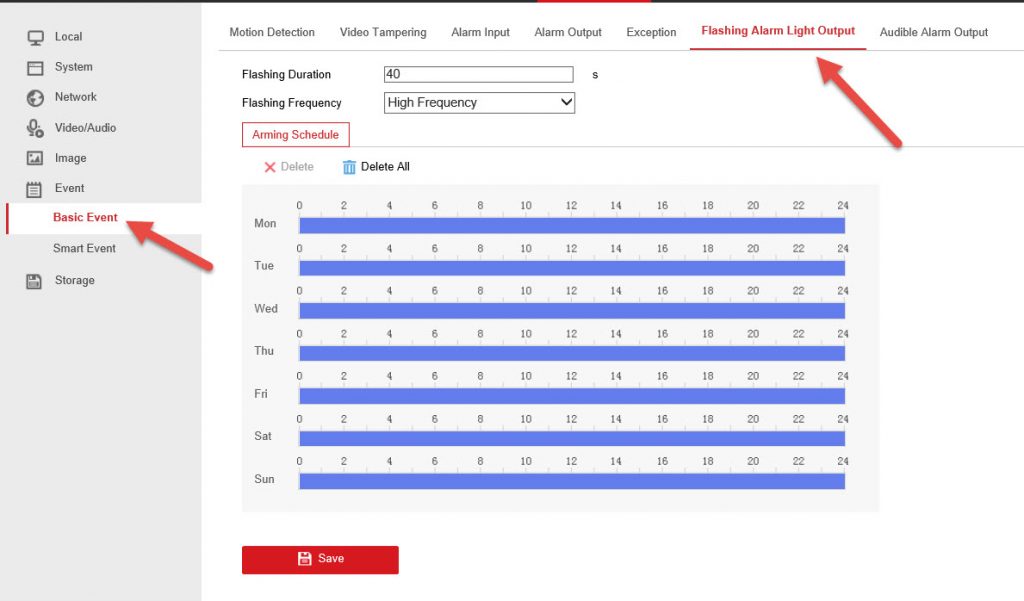
Thats it. Go outside and test when the time is within the scheduled time.